Are you looking for PeachPay Review? If yes then read this article completely and find all of your answers. Nowadays, the rate of cart abandonment is increasing significantly, resulting in a loss of sales and revenue.
The more difficult your checkout procedure is, the higher your cart abandonment rate will be. Without a doubt, visitors will abandon the items in their cart and proceed to another site if your checkout procedure is slow and burdensome.
Cart abandonment is frequently the result of checkout process failures. Numerous online shops fall short of meeting their customers’ expectations for a quick and simple checkout experience. PeachPay is a solution to this problem.
Customers can use the PeachPay extension to make purchases with just one click. I’ll use this PeachPay review to outline all of the plugin’s capabilities so you can decide whether it’s a viable alternative for integration into your WooCommerce store.
PeachPay Review: What is PeachPay?
PeachPay is a WooCommerce-powered startup that enables clients to complete their purchases with a single click. PeachPay can be used on either your site or another that offers this payment option.
One-click checkout will always be available to them, which will result in a more positive user experience and potentially repeat purchases from your store.
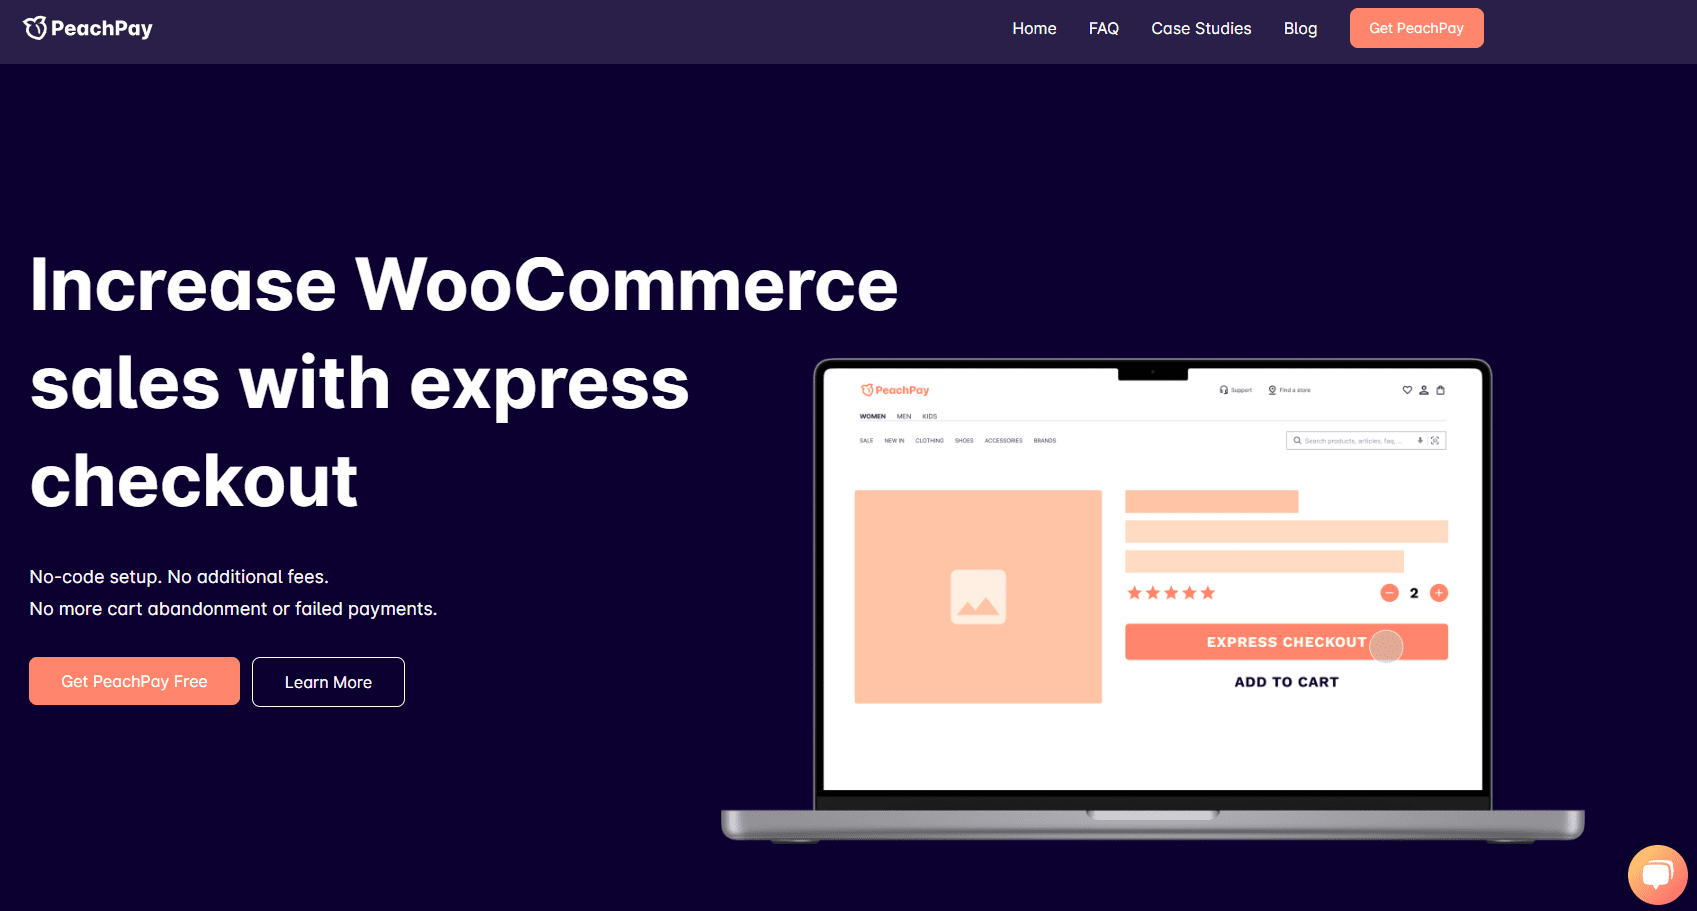
PeachPay reduces cart abandonment by streamlining the checkout process. Increased conversions and an increase in the average order value are predicted results for merchants who accept PeachPay.
Making it easier for clients to purchase boosts their pleasure, which results in increased sales.
[button-blue url=”https://peachpay.app/” target=”_blank” position=”center”]🔥 Get Started With PeachPay Now[/button-blue]
[alert-note]
PeachPay Review: Features Of PeachPay
Here are some features of PeachPay:
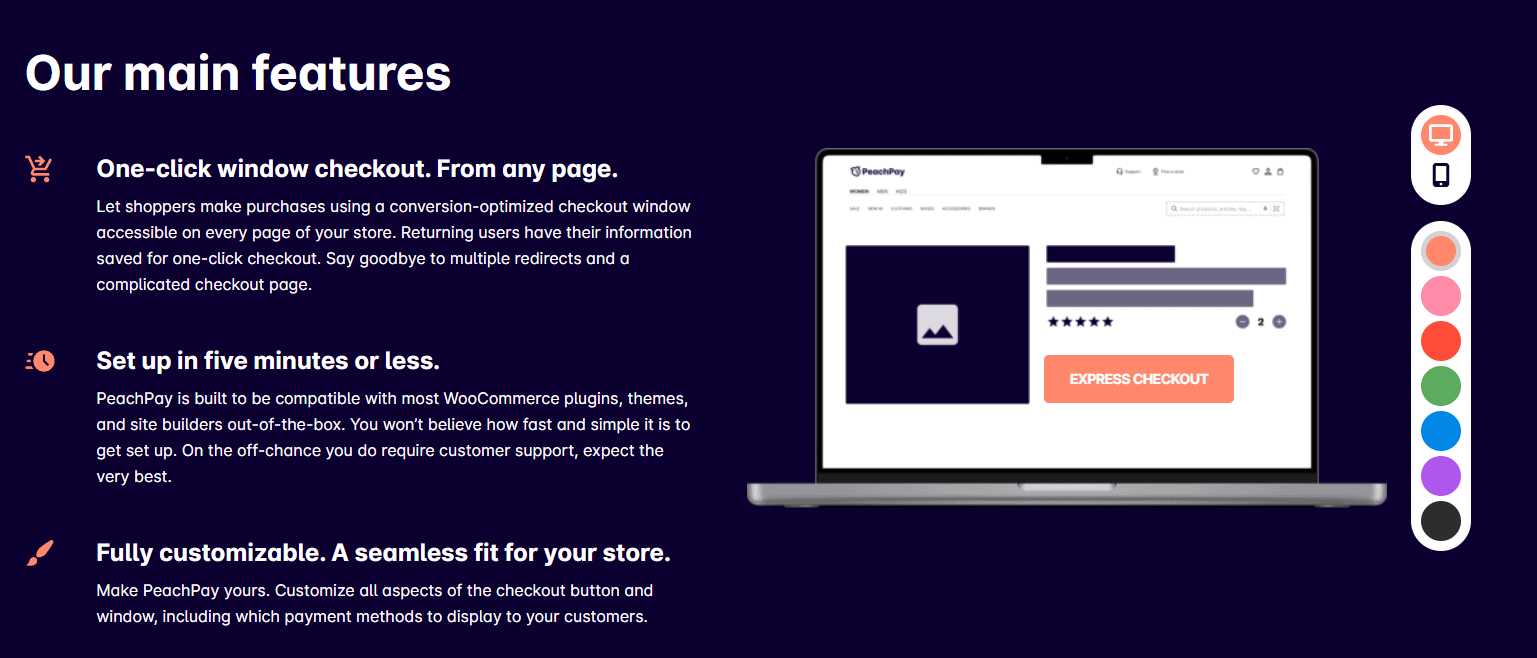
- All product pages, the cart page, the checkout page, and the mini/sidebar cart now include a PeachPay Express Checkout button. Nothing has to be configured.
- Returning customers can check out with a single click.
- Customers who have previously made PeachPay purchases at other merchants can now purchase from any merchant that accepts PeachPay with a single click.
- Utilize PeachPay’s test mode to determine how it works and to ensure that everything functions as planned.
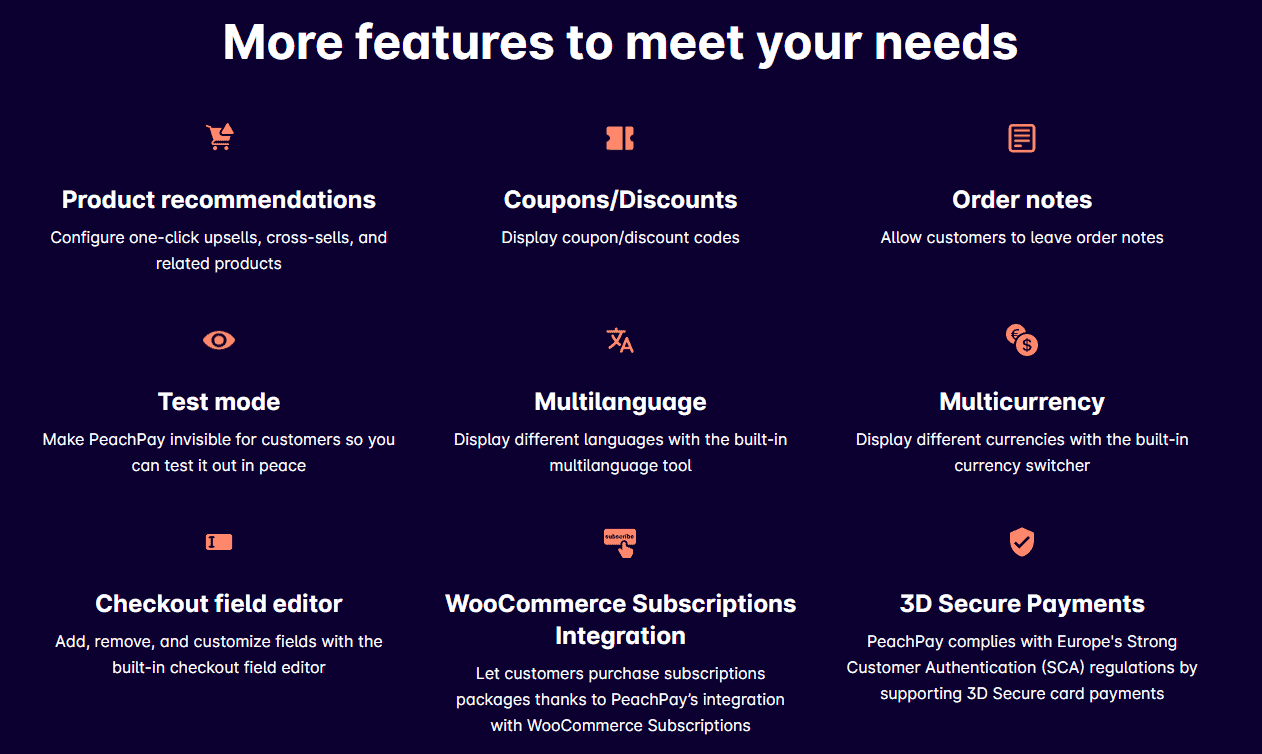
- You can customize the PeachPay checkout button’s color, width, rounded corners, shine effect, text, and deactivate by page. Additional features, such as coupons and discounts, upsells, and cross-sells, can be added to the PeachPay window.
- Strong Customer Authentication (SCA) is supported using a 3D Secure system.
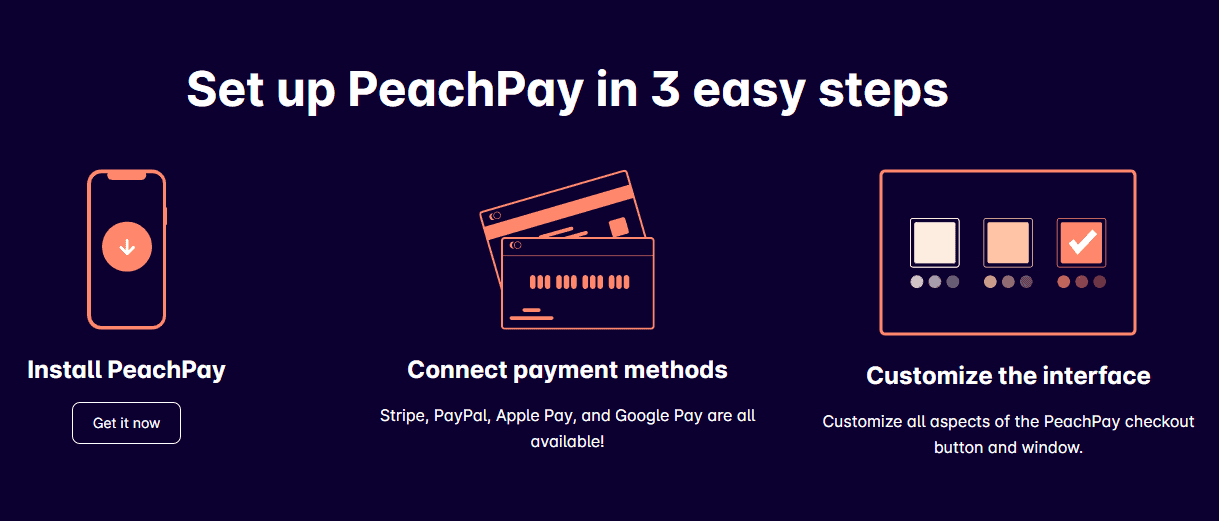
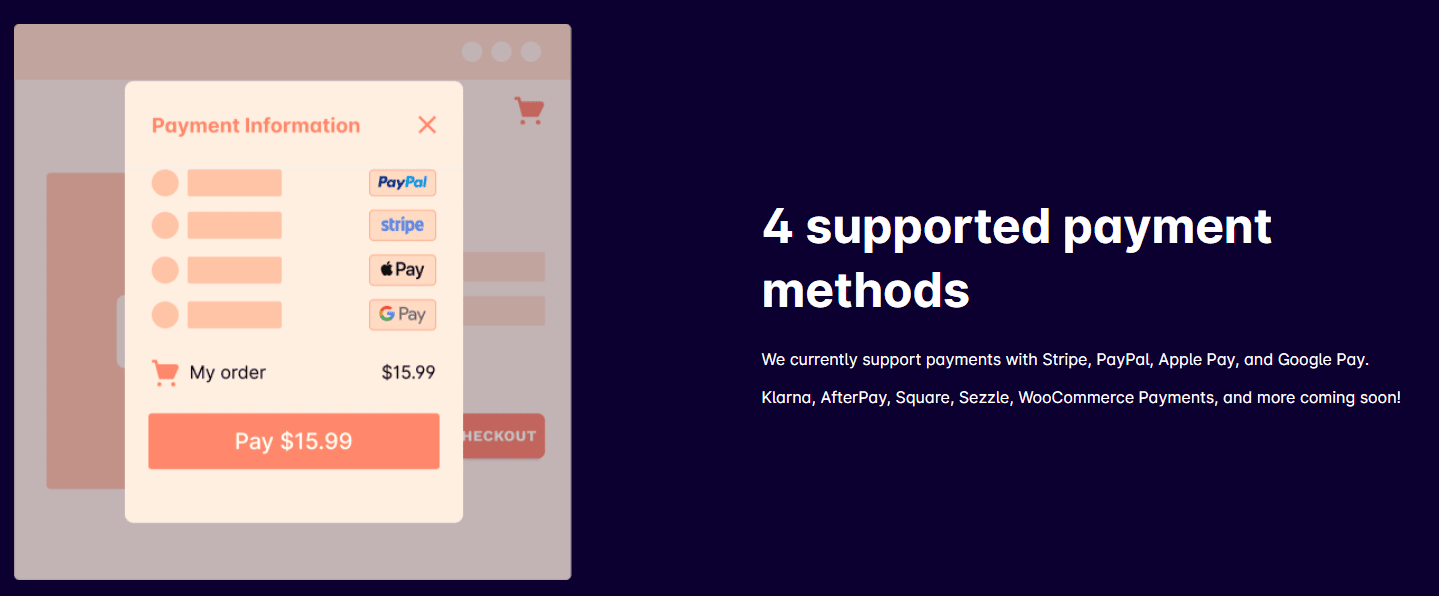
- PayPal, Stripe, Apple Pay, Google Pay, Klarna, and Afterpay are all accepted payment methods for PeachPay. Square, Sezzle, Authorize.Net, Affirm, and more are on the way.
- Guaranteed zero fraud and quick payouts via PayPal and Stripe.
- PeachPay is available in countries where Stripe or PayPal are available.
- PeachPay supports all currencies that Stripe and PayPal provide.
- Supports 25 different languages.
- Orders and payments are visible in your store’s dashboard, as well as in the Stripe and PayPal dashboards.
- You can use PeachPay at an unlimited number of merchants.
- PeachPay is presently only compatible with WooCommerce, however further eCommerce platform integrations are in the pipeline.
- PeachPay enables you to issue partial and full refunds quickly and for free.
- Accepts the majority of promotional codes. This includes coupons and the majority of other sorts of promotional codes.
- PeachPay is compatible with the WooCommerce Subscriptions plugin and is striving to make PeachPay compatible with additional subscription plugins.
- PeachPay provides WordPress shortcodes that make it simple to include the PeachPay button into any element of the site.
[/alert-note]
[button-blue url=”https://peachpay.app/” target=”_blank” position=”center”]🔥 Get Started With PeachPay Now[/button-blue]
How PeachPay Work?
Install and activate the PeachPay for the WooCommerce plugin. After activation, grant the plugin access to your store’s API in order for it to function properly. This is required in order to modify orders.
After you’ve activated the plugin and granted access, you’ll be led to a screen where you may select payment options. On the product, checkout, and cart pages, the PeachPay button will appear. If your theme includes a mini/sidebar cart, it will be displayed there as well.
When you click the PeachPay button on a cart or product page, a simple, clear checkout window displays. If this is the customer’s first time clicking on the button, they will be required to enter their personal information in order to complete the transaction.
When a consumer clicks the button on your or another PeachPay-enabled site, the customer’s payment, shipping, and order information are immediately supplied, allowing customers to check out with a single click.
PeachPay seamlessly connects with the dashboard of any payment platform you use in combination with it, and it works with most payment processors and gateways. The PeachPay system, however, now integrates with only PayPal and Stripe, with other interfaces coming soon.
During checkout, the client will have the option of changing the currency from the available options specified in the plugin’s currency settings.
The plugin options allow you to simply modify the button’s color, width, orientation, and text. Additionally, you can white-label the interface or incorporate your own brand logo. In that scenario, you must contact PeachPay support to obtain assistance with the white-labeling procedure.
Customers may add as many items as they choose to their basket before proceeding to the checkout procedure. PeachPay’s checkout page displays all shipping options available to your shop. Customers can indicate their preferred method of delivery throughout the checkout process.
PeachPay evaluates the risk characteristics associated with each order using Stripe and PayPal’s strong fraud detection technologies. PeachPay complies with PCI standards via Stripe and PayPal, as both are responsible for processing payment information.
When a customer first hits the button, they will be required to enter their billing and shipping information. When the consumer clicks the button again, he will be presented with payment, shipping, and order information, and he may choose to check out swiftly and easily (if the use same device and browser).
Orders placed using PeachPay will appear in the standard WooCommerce order feed. You’ll quickly distinguish them because they’ll be labeled PeachPay (Stripe) or PeachPay (PayPal).
[alert-success]
PeachPay Review: Plugin Settings
With PeachPay, you can customize the “Express Checkout” button in many ways.
1. General:
You will find settings under the general tab, such as:
- Language: Choose a language from the button as well as during checkout.
- Order notes: If enabled, customers can add notes to their orders during the checkout process.
- Test mode: Verify the payment process by using either a connected or unconnected payment method.
- Data retention: When you uninstall the PeachPay plugin, all data and settings will be deleted.
- Product images: The check-out window will no longer display product images.
- Quantity changer: Remove the option to display the quantity changer for each item in the order summary during checkout.
- Upsell items: You will not see any upsell products when you check out.
- Cross-sell items: You will not see cross-sold items during checkout.
2. Payment Methods:
Payment gateways can be enabled here.
Button Preferences: Changing the color, text, shine, fading, etc. of buttons allows you to customize them. PeachPay buttons can be customized with the Text option. When left blank, Express Checkout will be displayed in the chosen language.
People are more likely to buy from your store if they see a shine animation on the PeachPay button by default. This feature can be disabled by unchecking the “Turn off button shine” box.
You can customize the location of the button on the product page and the shopping cart page independently. You have the option of Left, Right, Center, or Full. Additionally, the width of the product page and shopping cart page buttons can be customized.
PeachPay buttons are displayed by default on the shop, product, cart, checkout page, and mini/sidebar cart. You can alter this setting if you so desire. By ticking the “Hide PeachPay button” box next to a given option, you can disable certain display locations.
The live preview option allows you to see how your modifications and button selections will appear in real-time.
3. Field Editor:
Additional fields can be displayed in the checkout window. When enabled, the checkout window will display the fields added in the “Additional fields” section.
4. Related Products:
The product page should display related products. Each product page will display products randomly in a slider depending on the tags, categories, and attributes of the product.
5. Currency:
The currency switcher can be enabled, you can specify which currencies will appear, and you can set other related settings.
[/alert-success]
Quick Links:
- EvaDav Review: Is It Reliable Push Ad Network?
- WebinarJam Affiliate Program Review
- Wondershare DemoCreator Review
Conclusion: PeachPay Review [Year]
Shopping cart abandonment is a significant issue for eCommerce merchants. Globally, the average rate of cart abandonment has increased in recent years.
PeachPay aims to drastically reduce this by providing a seamless, one-click checkout experience for customers. For users who have never used PeachPay before, the plugin creates a basic one-time checkout form.
It makes no difference which WooCommerce store they are currently using when PeachPay appears. They can purchase anything with a single click.
Given that the plugin is free, there is no reason not to test it and determine whether or not you could benefit from its use. You can also use a WooCommerce checkout manager plugin such as Cashier as an alternative.
[button-blue url=”https://peachpay.app/” target=”_blank” position=”center”]🔥 Get Started With PeachPay Now[/button-blue]
